I trimmed both the butt rib and the number 1 rib. It is needed to clear the fuel line so it isn't pinched in closed or open position.


I trimmed both the butt rib and the number 1 rib. It is needed to clear the fuel line so it isn't pinched in closed or open position.

I suspect this might be an instruction from the old days that hasn't been edited. Then, there was a straight barb that attached to the fuel line that went through the web. I think you are right in that it should be the cap strip that is cut.Originally Posted by Esser

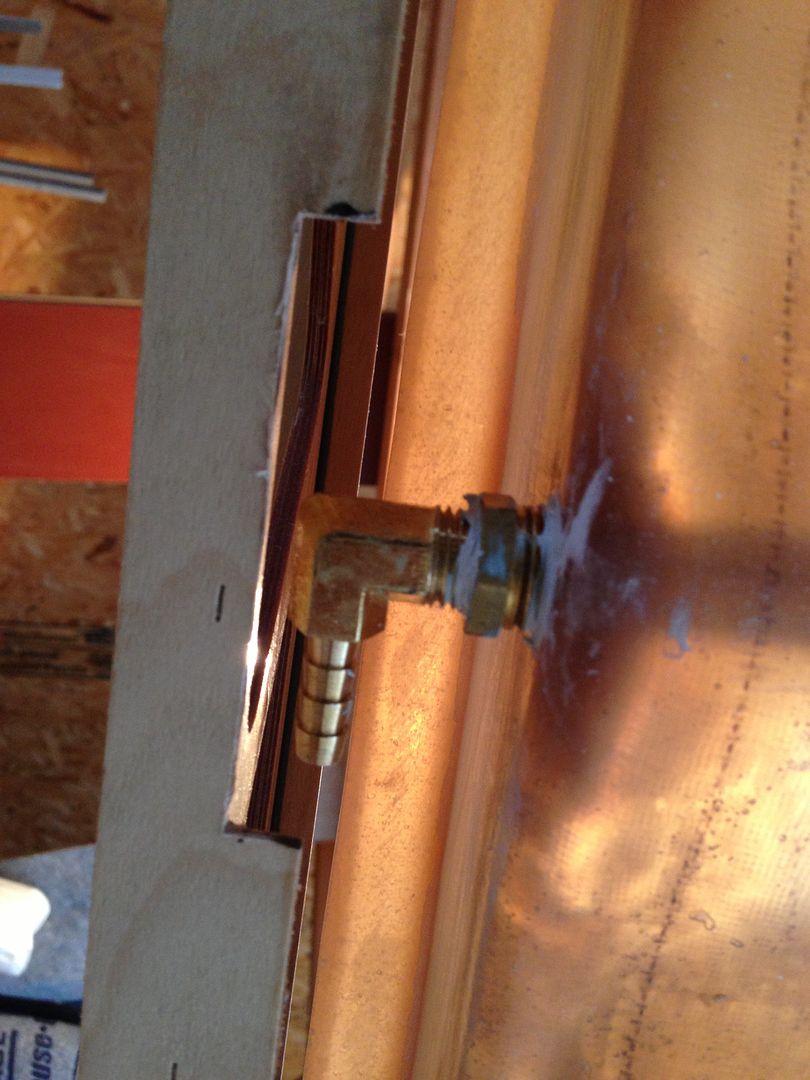
One thing you might also consider. I learned this while helping a friend modify a partially completed Series V that he was finishing. That fuel system was absolutely unmaintainable - Zero Access. You may want to remove the barb fitting periodically to allow access to the finger strainer in the tank. That is your first point of filtration in the fuel system. As designed, you will not be able to unscrew the "L" barb if it is simply covered with fabric. An easy way to enable the removal of the barb is to use a procedure in the Rans Manual. After covering, glue a wide U shaped piece of Lexan inside the fabric with the legs of the Y next to the capstrip and the U opening sized and positioned to allow for rotation of the fitting (through the plane of the fabric). After everything is covered and finished, cut the fabric inside the U to expose the fitting. The reason for using Lexan rather than aluminum is two fold. First, Lexan doesn't take a warp when cutting. Second, you can make a cover of aluminum and by drilling the mounting holes through the lexan undersized you can secure the cover with pan head sheet metal screws self tapped into the Lexan. I used the Lexan whereever a doubler was called for in the plans - around the lift strut attach brackets for example and where I needed any through fabric access - servos. This way, it would be easy to attach fairings for the lift strut to wing junction and allow for needed thru-fabric access in other places. I used Stainless #4 screws.

Thanks for the picture War Eagle. That makes sense to me.
HighWing, I was thinking something along those lines. I haven't worked with fabric yet so I don't know it's limitations but it makes sense what you described. It would be nice if you had to swap a fitting or clean a screen or something.


I agree, you need to cut the rib bottom cap so the L fitting can be rotated later for maintenance and also make some sort of access panel even if you don't actually cut the fabric until necessary. I just used a standard round access panel.
Jim
Tank 1 is in...i forgot to snap a picture of the cut cap strip. I will snap a pic on the next one.
Here is the cap strip cut so I can rotate it. I probably made it a bit bigger than I needed...

Picking nits but curious if using a drill to make the inside corners of those cutouts would be advisable, ie. a radius-ed curve vs. straight notch might better help prevent splitting of the capstrip or be easier on the shrunk fabric?
-Aeropro CZ Aerotrek A240 Tri-Gear SLSA 912uls
-Airdale Avid+ on CZAW Amphibs 'FatAvid Floater' (building)
-Kitfox 4-1200 TD 912ul (sold)
-Kitfox Model III TD 582 (R.I.P.)
-Avid Flyer Mk-IV TD (sold)
I didn't think it would be a huge deal because all the bonding would be done on the cap. But it won't be hard for me to sand it round. I would be more worried about the outside corners.
Well I am here still. After moving into the new house I had to get the garage ready for myself since this is the final stop in the move to Edmonton.
When we moved in, the garage had pretty bad lighting. So I fixed that up fairly decently then did the floors and the walls to give me a bit nicer of a space to work in.
Before
After
After
Moving Day
New work Bench half finished
Cutting the false ribs for underneath the fuel tank. I sure wish I had a bandsaw for this one job.
So here is what I have been up to....
Last weekend I decided my garage was too small to work effectively. So I tore out a wall in my shed and installed some big doors so I could find a home for my fuselage while I concentrate on the wings.
Doors on. Mower gone. Plane in.
Getting read to install the trailing edge.
Installed the false ribs. Used my cheap level as a straight edge to sand down which ribs ended high. Im not very patient when it comes to sanding. Good thing I'm not building a velocity.
Tank spacers in so the rib doesn't flex when I shrink the fabric.
Recruited some help with the varnishing of the ribs. Natalie and our friend Brittany.
A little off topic but these orange fences are the centre line for the new airport going in. In the far right you can see the D8 moving dirt. This is about 5KM from my house.
Before
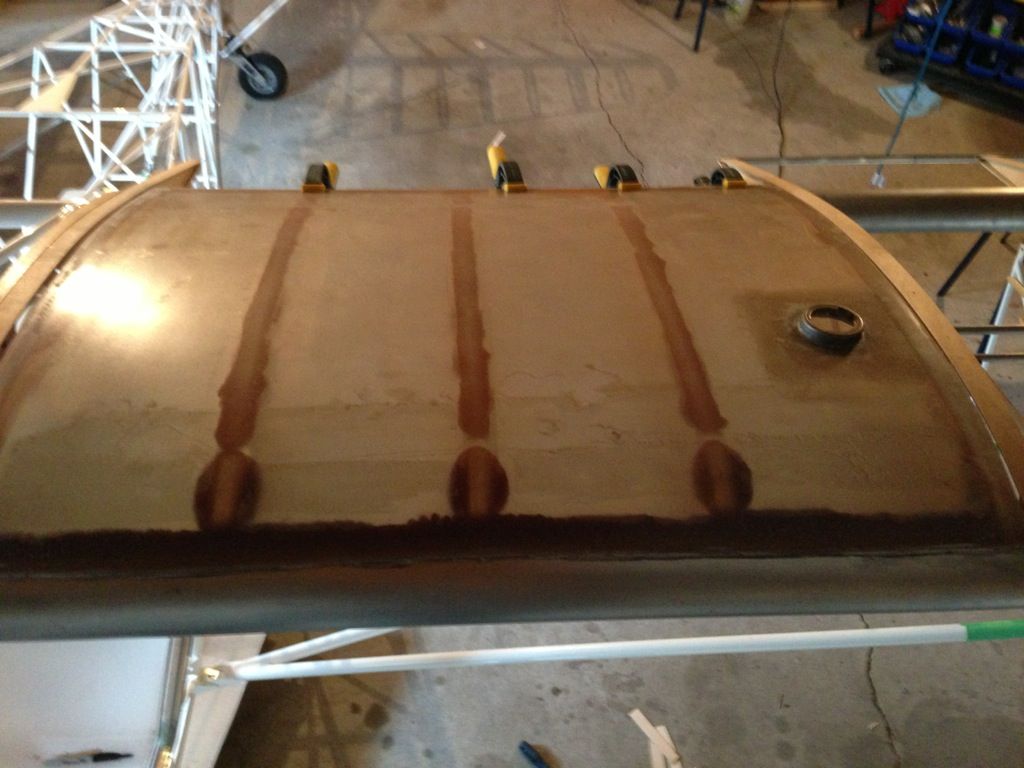
After. I didnt make quite enough to finish the second wing. Got half way through the first coat. I live in pretty dry environment but I think it is pretty cheap insurance especially when you think resale. Adds very little weight. I actually brushed this on since I didn't want to get over spray everywhere. My NACE level 1 inspector at work would probably have a few words to say to me if he knew I had brushed it. I am pretty happy with the end result. No brush strokes.
Next up is the LLE....after I finish coating the other wing.
 Posting Permissions

 Reply With Quote


