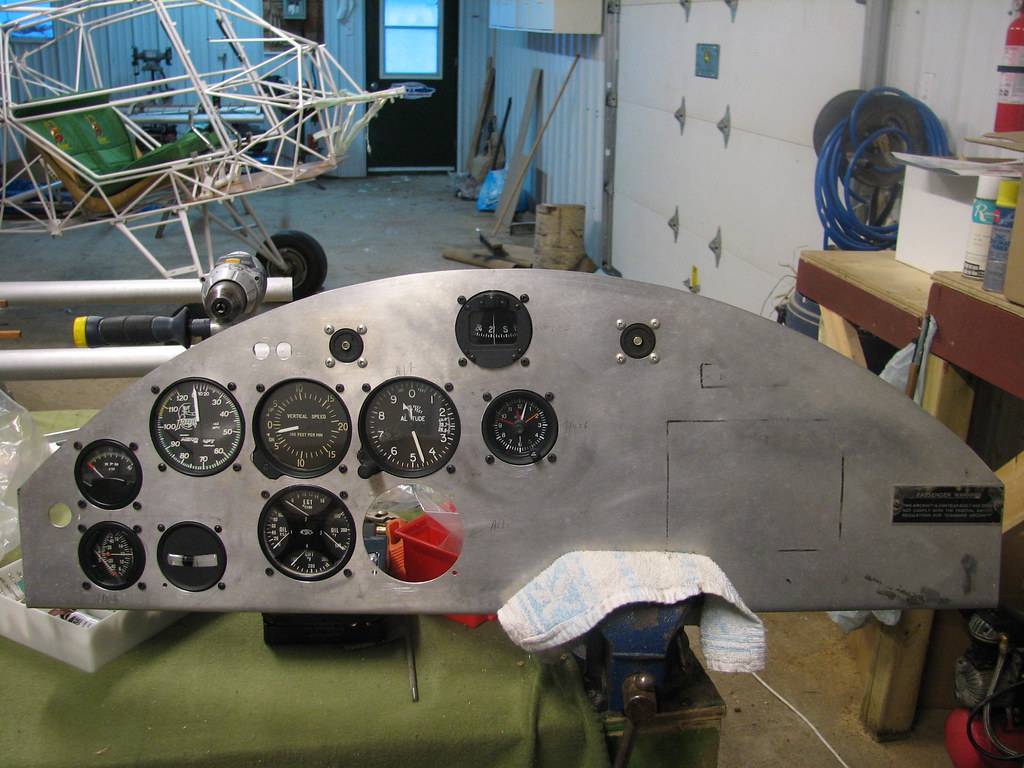
Hi all , this is the panel in my Outback ; Kevin
Hi all , this is the panel in my Outback ; Kevin
KITFOX IV Speedster, Panel designed 1999
Holly Cow ! What beautiful panels ! With every steak we need a hambuger so here's mine from my older Kitfox. Don't laugh(unless you want too) it works !
Dick
Re-posting to the collection (going for the clean look), My favorite so far is 218SM nice job!
Last edited by Dorsal; 11-02-2010 at 05:19 AM.
Dorsal ~~^~~
Series 7 - Tri-Gear
912 ULS Warp Drive
Here's how not to do a panel...
This is my project IV-1200. I started the tear down today.
my panel for now..MK 4

Here's mine: to be completed with Garmin 296 and MGL VHF-6.
I like them gauges...
Last edited by HansLab; 12-14-2011 at 11:26 PM. Reason: please, put it in the Showusyourpanel thread?
My panel started off with many different designs until I settled on one that suited me. I decided not to go with any keys dangling from my panel. I painted my panel with base coat clear coat before labeling and labeled all my switches and circuit breakers with decals I made on my computer later. This way, I was able to control the font and exact size. Decal paper kits are available online very cheap and really easy to use. Once the decals were in place, another coat or two of clear and everything blends in nicely. For my row of toggle switches for lights, heater, smoke etc, I found some really nice round auto switches with led indicators when in the "on" position. These were very easy to install since they popped into a round cutout hole. The biggest problem I encountered was after installing my vertical compass in the panel, I could never get an accurate reading from it. I tried to degauss the magnetic field around the area where the compass is mounted, but I gave up on acquiring any kind of accuracy from the compass. It's mainly there for looks now and I rely on my GPS for direction. I have a green led light that indicates power and a red led light indicating low fuel. I built stand off brackets to mount the panel shock absorbers on and flush riveted them to the panel.
When we started our goal was to have a simple, clean panel and I think we've accomplished that.
Step 1 - How to Populate Panel - Done
This was a 2 year process that was finalized at least 3 times, then changed.Step 2 - Panel Layout - Done (I hope)
It took about a month of btting ideas back and forth. Informally we considered where items would be placed as they were decided on.Step 3 - Planning to cut - Done (unless it changes, again)
We are on Rev. 3 and it is currently the final layout, though it is open to change until the cutting begins. Note: Android ASUS Transformer Tablet Computer (running Naviator) will be mounted with a RAM mount.Step 4 - Cutting - Done(I'm thinking this is a Major Milestone)
With the help of Robert Haines (fellow member of EAA 292), we got the panel cut on Roberts home made CNC machine (8' x 16' cutting bed).Step 5 - Painting and Populating - WIP
OK, all of the instruments are fitted and surprisingly, it looks almost exactly like the drawing I made. If you're interested you can follow us here.
Last edited by enyaw; 04-14-2012 at 09:27 PM.
Sweet Set-Up Wayne...should be a dream to fly behind!
Dan
Dan B
Mesa, AZ