Kitfox Aircraft Stick and Rudder Stein Air Grove Aircraft TCW Technologies Dynon Avionics AeroLED MGL Avionics Leading Edge Airfoils Desser EarthX Batteries Garmin G3X Touch
Page 29 of 50 FirstFirst ... 1925262728293031323339 ... LastLast
Results 281 to 290 of 494

Thread: Esser's Build

  1. #281
    Senior Member
    Join Date
    Dec 2012
    Location
    Mt Beauty, Australia
    Posts
    1,073

    Default Re: Esser's Build

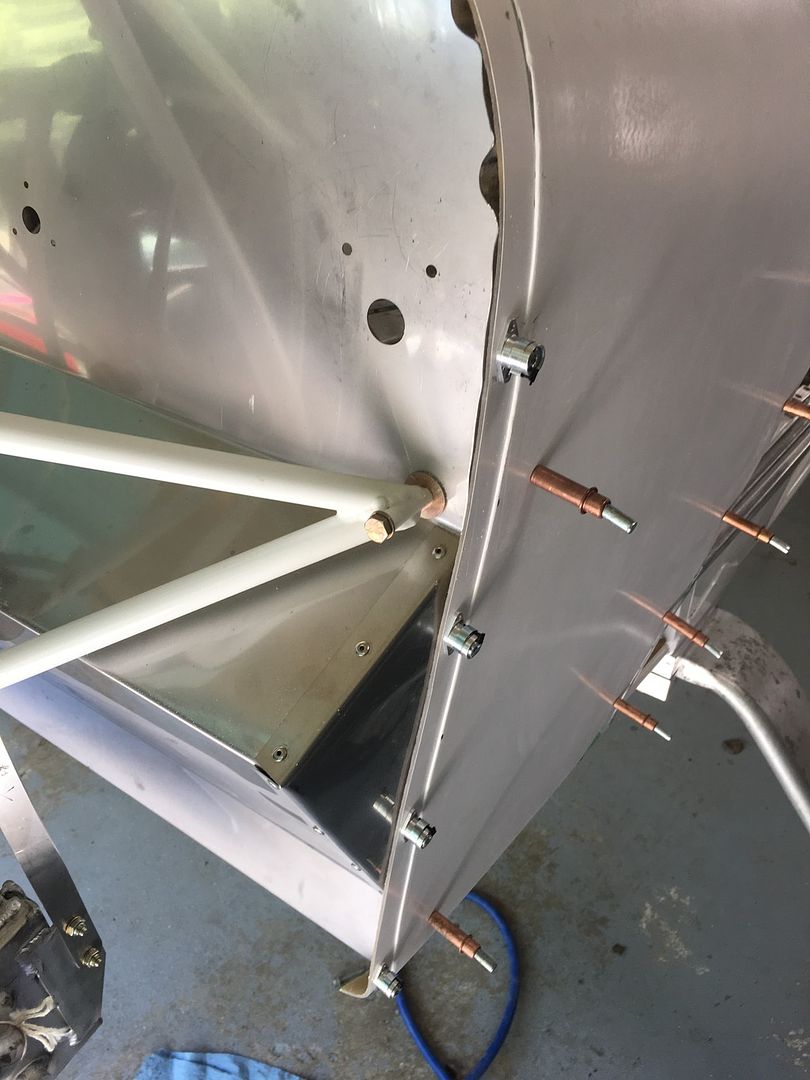
    The black plastic spacer pieces allow you to adjust the tightness of the fit of the camlocks - don't pull them out until you have them snug or you will have a challenge getting them back - they hold the circlip out allowing the adjustable barrel to turn. When you have them all adjusted, pull the plastic tabs out and they retain that setting. Try removing one and you can see how they work - you can re inset them by leveraging the circlip.

    cheers

    r
    Ross
    Mt Beauty, Vic
    OZ
    Sold to Richard and Scott Taubman in OZ, 2019. Kitfox SS7,Rotax 912is Sport, Airmaster CSP 75" blades.
    Landcruiser and Cub off road camper (doesn't get any kudos on this forum!)

  2. #282
    Senior Member jiott's Avatar
    Join Date
    Jun 2010
    Location
    Portland, OR
    Posts
    2,967

    Default Re: Esser's Build

    I'm glad to see that the kit now includes those self-adjusting camlocks. Makes for a much neater installation. My kit had the old fixed length camlocks, which over 50% of them were not quite the right length due to variations in fiberglass thickness, etc. So you ended up buying more by estimating the correct lengths which sometimes took several tries. All in all I am sure I spent more money getting those fixed length camlocks right than if I had started with the self-adjusters.
    Jim Ott
    Portland, OR
    Kitfox SS7 flying
    Rotax 912ULS

  3. #283
    Senior Member jrevens's Avatar
    Join Date
    Aug 2009
    Location
    Arvada, CO
    Posts
    2,156

    Default Re: Esser's Build

    Quote Originally Posted by jiott View Post
    I'm glad to see that the kit now includes those self-adjusting camlocks. Makes for a much neater installation. My kit had the old fixed length camlocks, which over 50% of them were not quite the right length due to variations in fiberglass thickness, etc. So you ended up buying more by estimating the correct lengths which sometimes took several tries. All in all I am sure I spent more money getting those fixed length camlocks right than if I had started with the self-adjusters.
    I think I did too, Jim. I have wondered, however, how well the all-aluminum adjustable ones hold up over the years, concerning wear. Or, has that proven to be a non-issue?
    John Evens
    Arvada, CO
    Kitfox SS7 N27JE
    EAA Lifetime
    Chap. 43 honorary Lifetime

  4. #284
    Senior Member jiott's Avatar
    Join Date
    Jun 2010
    Location
    Portland, OR
    Posts
    2,967

    Default Re: Esser's Build

    I haven't heard of any premature wear problems on the adjustable camlocks. I know the Kitfox factory has been using them for a number of years now on the SLSA.
    Jim Ott
    Portland, OR
    Kitfox SS7 flying
    Rotax 912ULS

  5. #285
    Senior Member Esser's Avatar
    Join Date
    Jul 2011
    Location
    Edmonton, AB
    Posts
    2,048

    Default Re: Esser's Build

    Quote Originally Posted by jrevens View Post
    I think I did too, Jim. I have wondered, however, how well the all-aluminum adjustable ones hold up over the years, concerning wear. Or, has that proven to be a non-issue?
    The ones that came with the firewall forward kit are Titanium. So they should be twice as a strong as the aluminum ones in theory. They also sell stainless ones which I imagine are even stronger.

    Thanks for pointing me in the right direction Ross. Once I had a rough idea of what I was looking at, it was pretty intuitive. I took a few pictures, maybe I will make a thread on how to adjust them. Just as a tip, if you need to pry that clip up, a racing needle works well!

  6. #286
    Senior Member
    Join Date
    Sep 2008
    Location
    Winchester, KY
    Posts
    299

    Default Re: Esser's Build

    I used these adjustable aluminum cam-loc's on my aircraft. Been in use for three years and no decernable wear or problems and cowling and rear turtle deck have been off numerous times.

    Dick B

  7. #287
    Senior Member jrevens's Avatar
    Join Date
    Aug 2009
    Location
    Arvada, CO
    Posts
    2,156

    Default Re: Esser's Build

    Quote Originally Posted by Esser View Post
    The ones that came with the firewall forward kit are Titanium. So they should be twice as a strong as the aluminum ones in theory. They also sell stainless ones which I imagine are even stronger.
    ...
    Thanks Esser... they look like aluminum to me in the picture, & I've seen aluminum ones before - my mistake. It's not the strength I was concerned with, just the possible wear with the steel pins on the stud rubbing against the receptacle surface when being taken on & off. Some kind of titanium material should be very good, and light.
    John Evens
    Arvada, CO
    Kitfox SS7 N27JE
    EAA Lifetime
    Chap. 43 honorary Lifetime

  8. #288
    Senior Member Esser's Avatar
    Join Date
    Jul 2011
    Location
    Edmonton, AB
    Posts
    2,048

    Default Re: Esser's Build

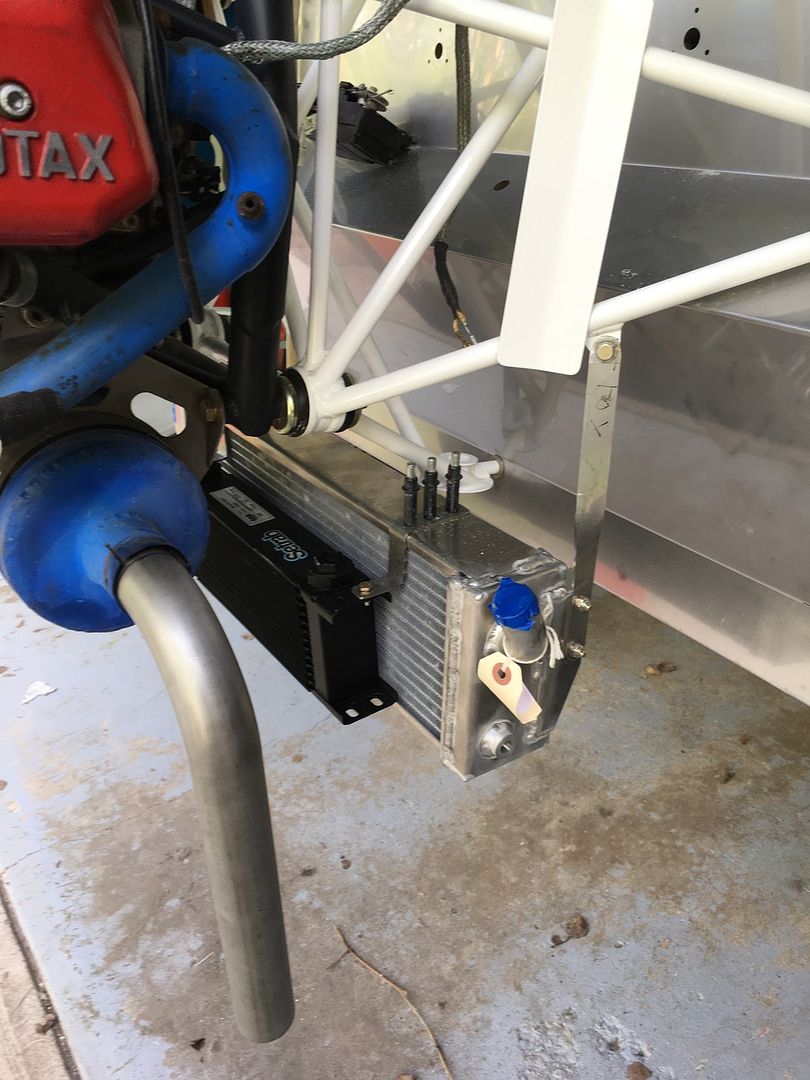
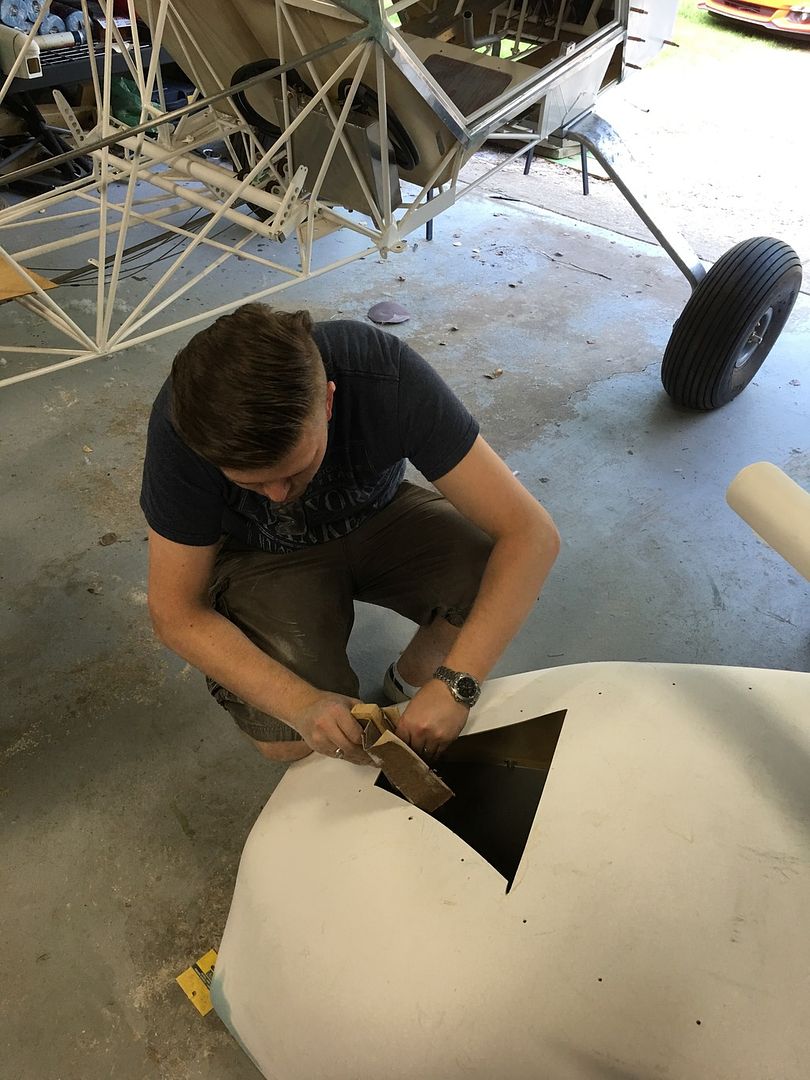
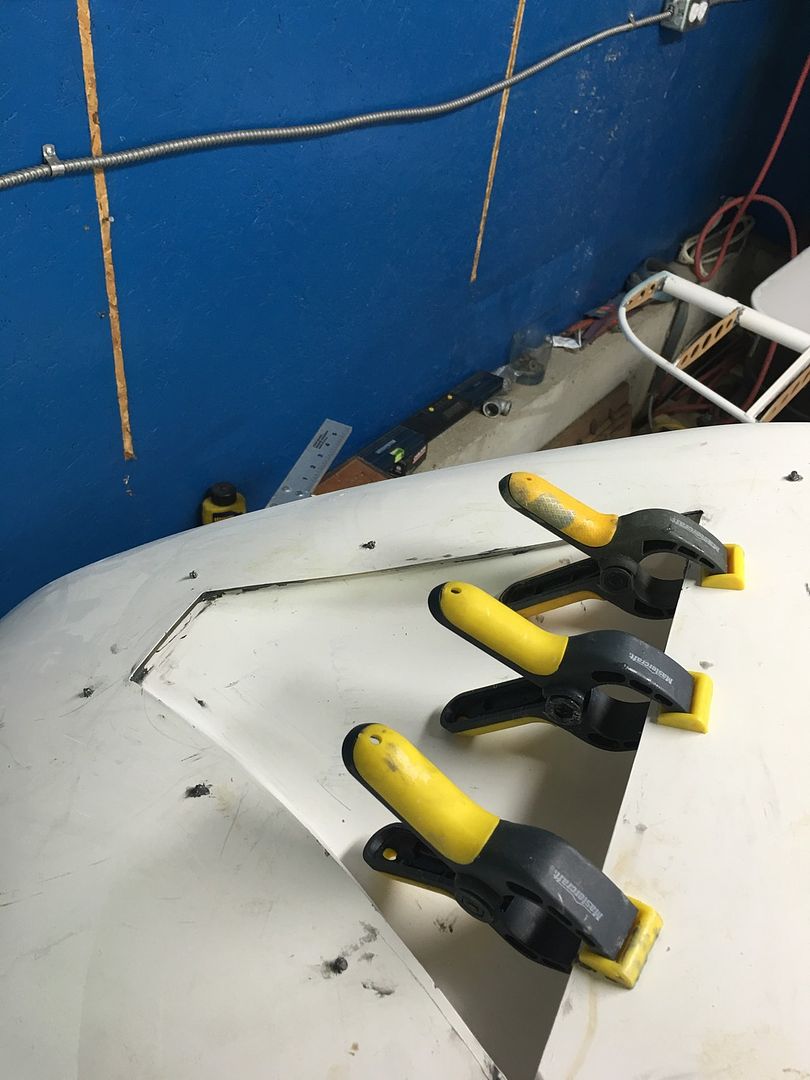
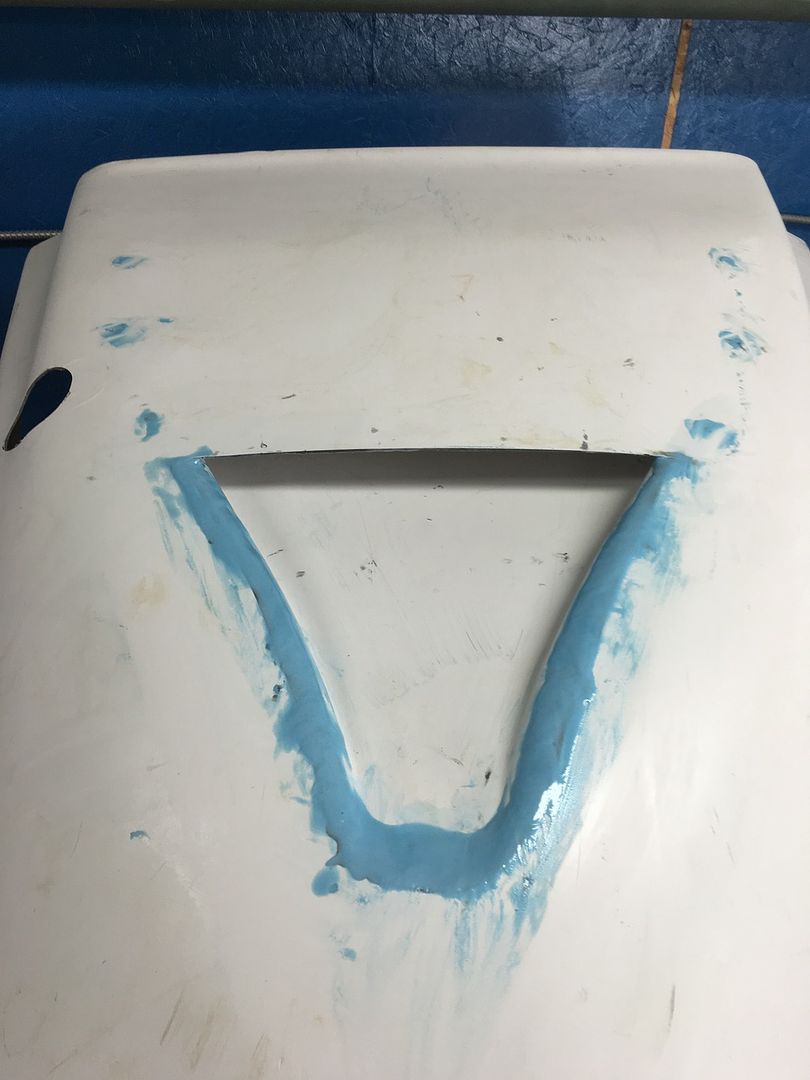
    Well I had some visitors today that helped out quite a bit. I fabbed up the brackets for the oil cooler but I accidentally drilled 3/16" holes instead of #30 but I decided to roll with it so I could at least put the oil cooler in its place so I could finish up the NACA duct. I put the oil cooler lower than the instructions so that it fits the duct better.


    Oil cooler in place


    Ryan sanding after cutting out the hole in the cowl. You can see where the grinder got away, that will be filled with hysol....


    NACA duct being bonded and the doubler being bonded.


    I am really looking forward to putting the cowl behind me and getting on with covering. I only have to cut the hole for the exhaust, add the oil door, and some minor filling and sanding. Then it's time to pull the engine and the landing gear to facilitate covering.

  9. #289
    Senior Member Esser's Avatar
    Join Date
    Jul 2011
    Location
    Edmonton, AB
    Posts
    2,048

    Default Re: Esser's Build

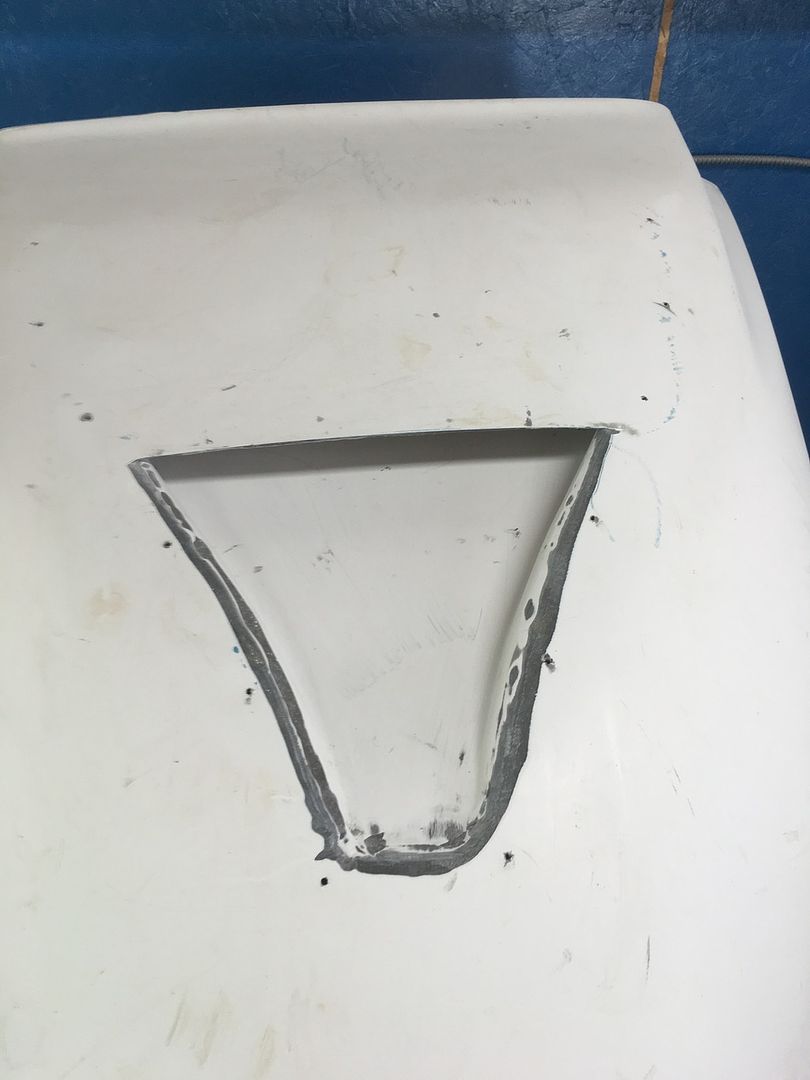
    Started out the day sanding down the edge of the NACA duct. For those of you about to do this, the instructions say measure 1 1/2" from the outside edge of the duct to cut. I went 1 1/4" and still sanded lots so I would say it would be safe to go to an inch.


    Sanded


    Filled with superfil


    Drilling all the holes for the camlocs


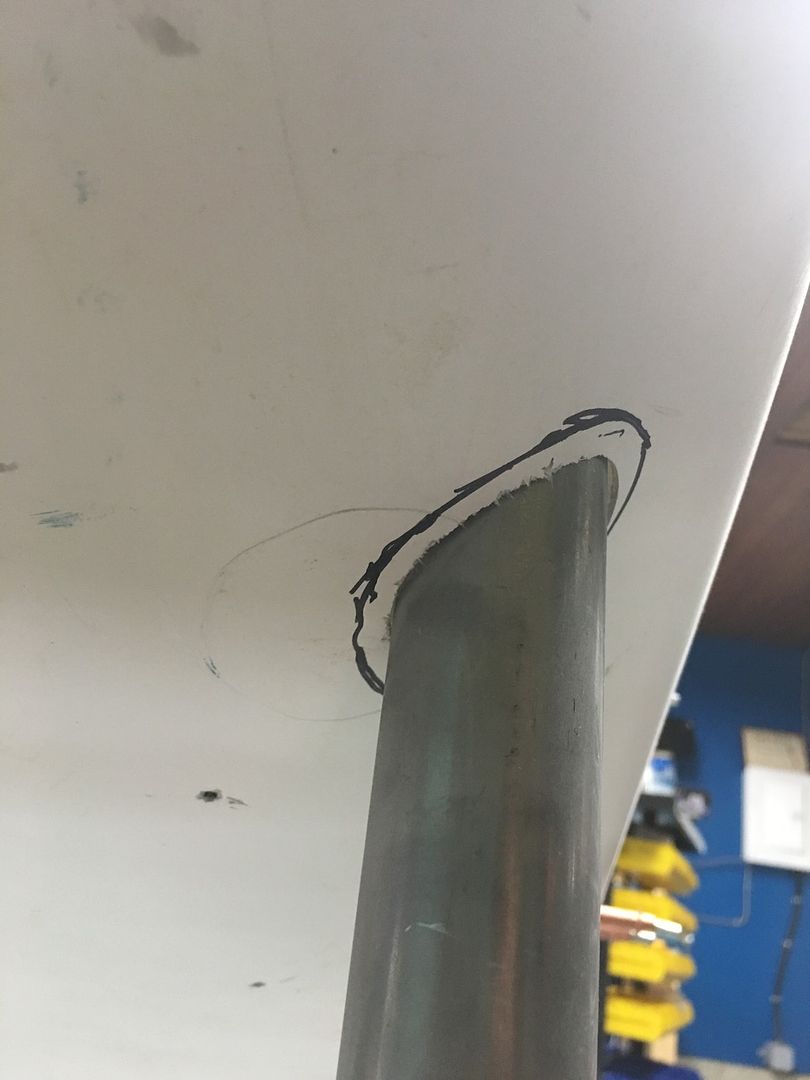
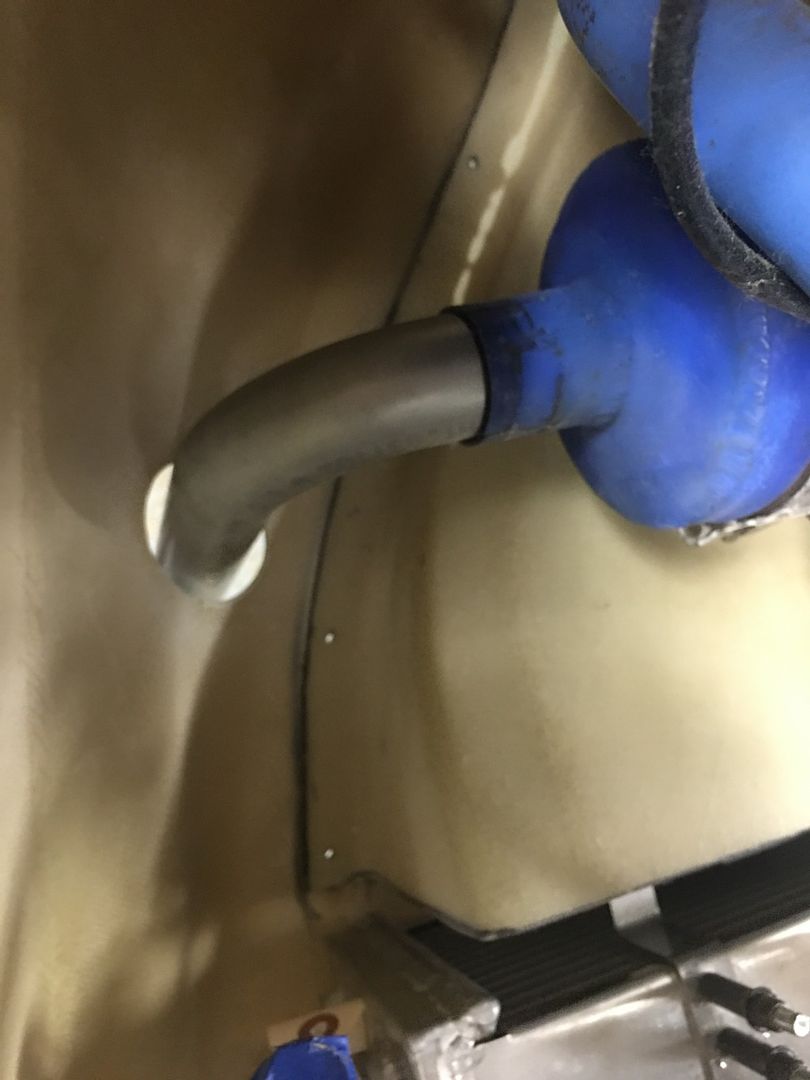
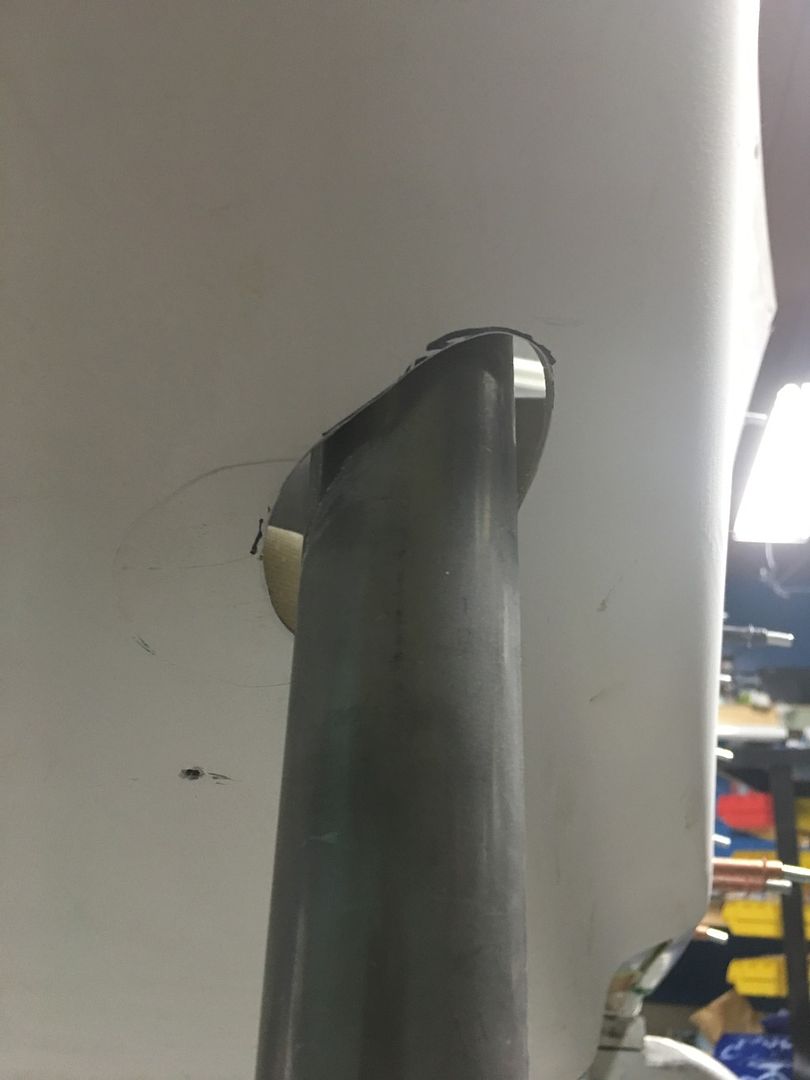
    First exhaust cut. I think my first cut was perfect. It was tight!


    Widened out.


    The hole really is ugly when you provide even spacing everywhere because of the curves the exhaust stinger goes through.


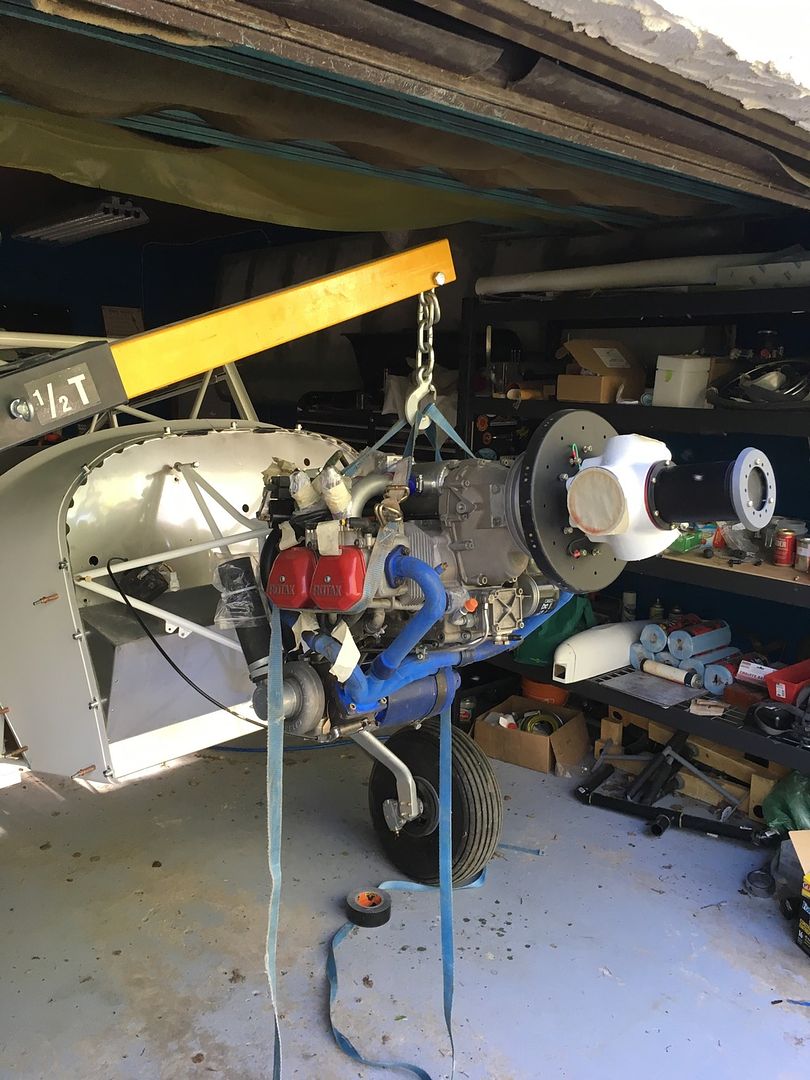
    Getting ready to pull the engine


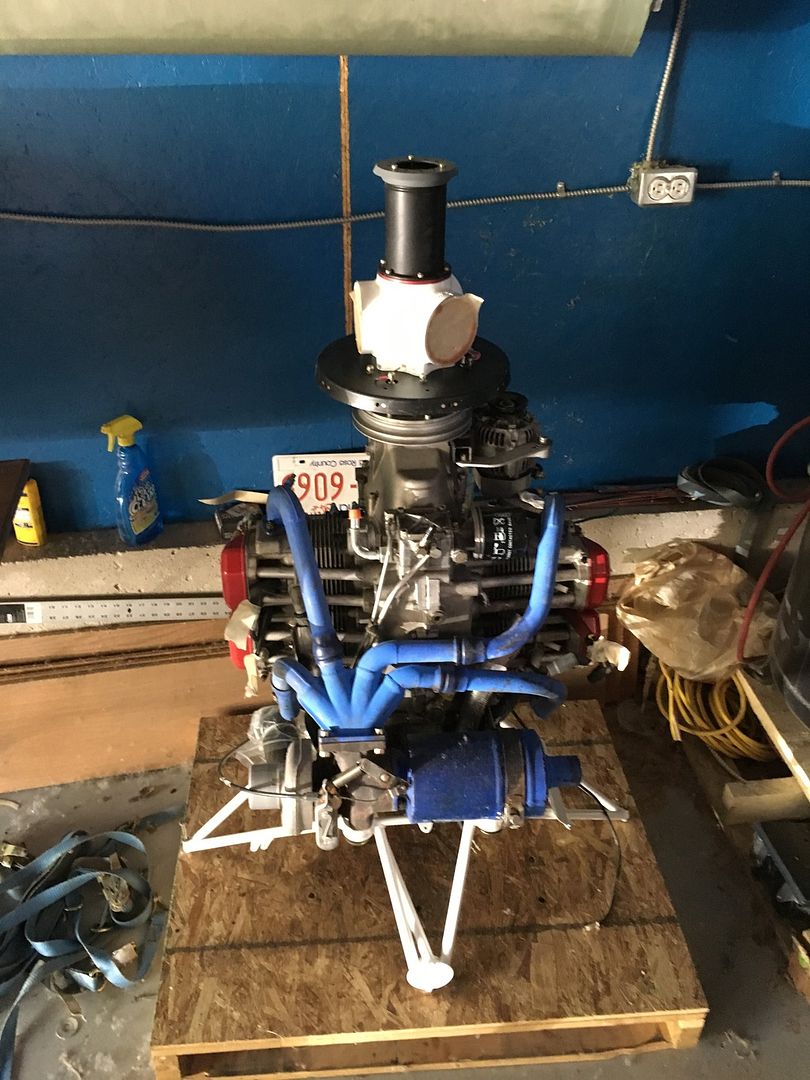
    Engine off and out of the way


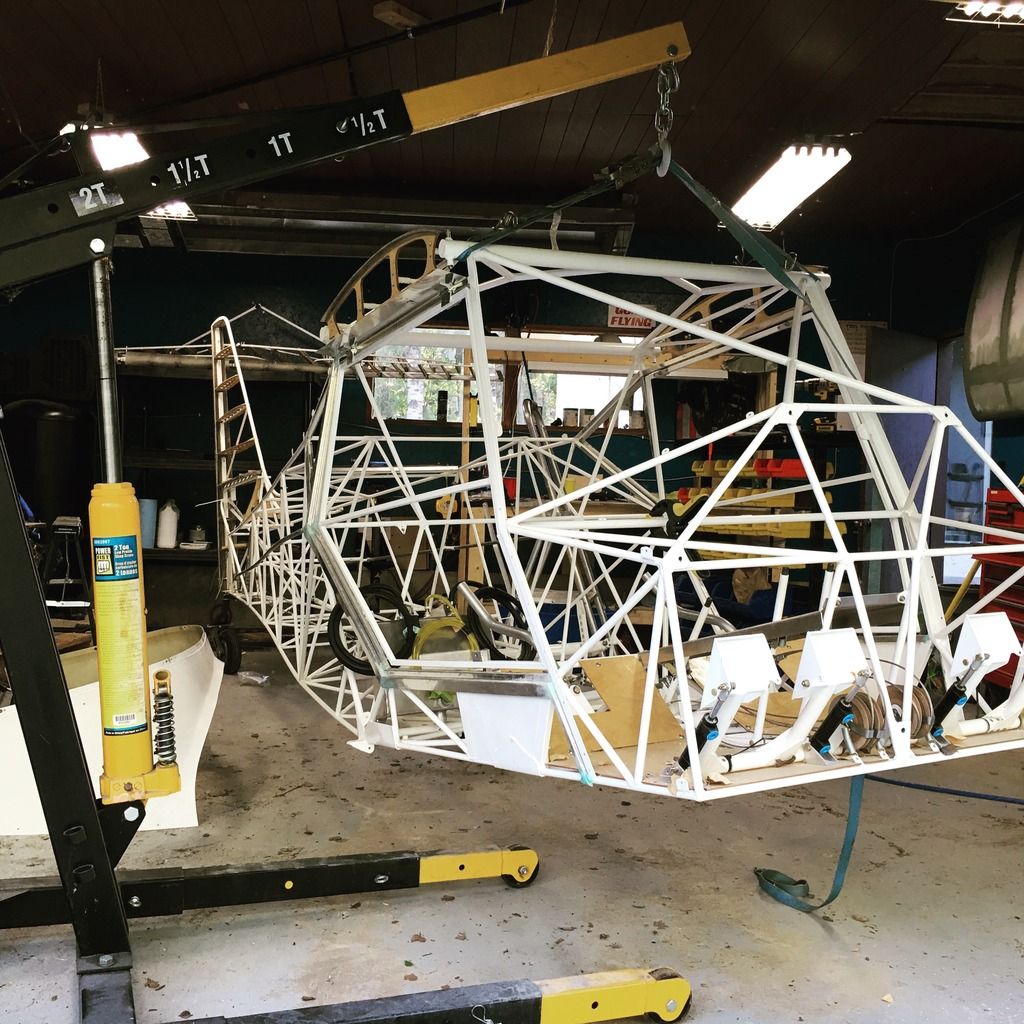
    Firewall, cowls, and mains off in prep for covering.


    I'm hoping to start covering the fuselage tomorrow. I still need to rig up a jig to hold the front. If anyone has any good pictures of their simple wood setups, I would appreciate it.

  10. #290
    Senior Member
    Join Date
    Dec 2012
    Location
    Mt Beauty, Australia
    Posts
    1,073

    Default Re: Esser's Build

    Getting there Josh! Those camlocks are going to slow you down a bit hanging out like that though - don't you think?!

    Bet you're looking forward to the covering now- go well..


    r
    Ross
    Mt Beauty, Vic
    OZ
    Sold to Richard and Scott Taubman in OZ, 2019. Kitfox SS7,Rotax 912is Sport, Airmaster CSP 75" blades.
    Landcruiser and Cub off road camper (doesn't get any kudos on this forum!)

Posting Permissions

  • You may not post new threads
  • You may not post replies
  • You may not post attachments
  • You may not edit your posts
  •