Nice progress Josh. I reckon that you have created a bit of a work of art there on those wings and perhaps you should just leave them as is!
r


Nice progress Josh. I reckon that you have created a bit of a work of art there on those wings and perhaps you should just leave them as is!
r
Ross
Mt Beauty, Vic
OZ
Sold to Richard and Scott Taubman in OZ, 2019. Kitfox SS7,Rotax 912is Sport, Airmaster CSP 75" blades.
Landcruiser and Cub off road camper (doesn't get any kudos on this forum!)

Kind of like a Jackson Pollock eh? Thanks. I'm back at work now so no more prgress for a couple weeks. Cowls and fuselage cover next
Good job Josh

Looks good. Really a fun part of the build.
DesertFox4
Admin.
7 Super Sport912 ULS Tri-gear
Hello everyone! I am alive and well. Just the same old story of working lately and getting the landscaping fixed up in the spring.
So about a year plus ago, I hung the engine because I wanted to fit the cowls before I covered the fuselage. Now I am finally getting the cowls out of the way so I can finish covering.
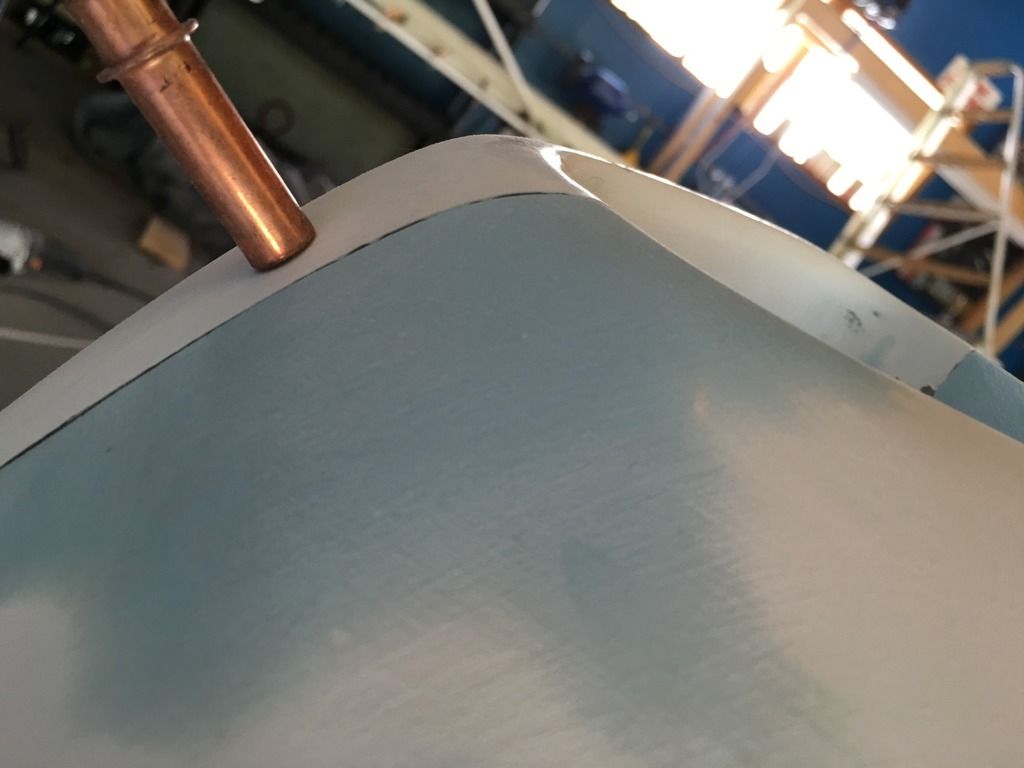
The instructions were slightly confusing to me at first but after reading them a few times I got the general idea. I started cutting and it came apparent that I wasn't going to get a super tight fit on the openings in the front. It's also tricky to get a good fit as you are leaving the top cowl sides long.
Ross was kind enough to send me some pictures that John McBean had sent him and he also gave me some tips.
The first thing I noticed was that the vertical flanges on the lower cowl were way too big. They were pushing the top cowl apart. After I trimmed those down, it made things much easier and I would recommend that to everyone.
Getting the nerve to start cutting.
I don't know why but cleaning up the centre hole made it look much better and made me think I was making good progress.
First trial fit.
Trim line to take off a bit more.
Bottom piece done, Working on the top.
I still have to trim the sides of the top cowl. Hoping to get that done today. But all in all. It wasn't as bad as I thought.
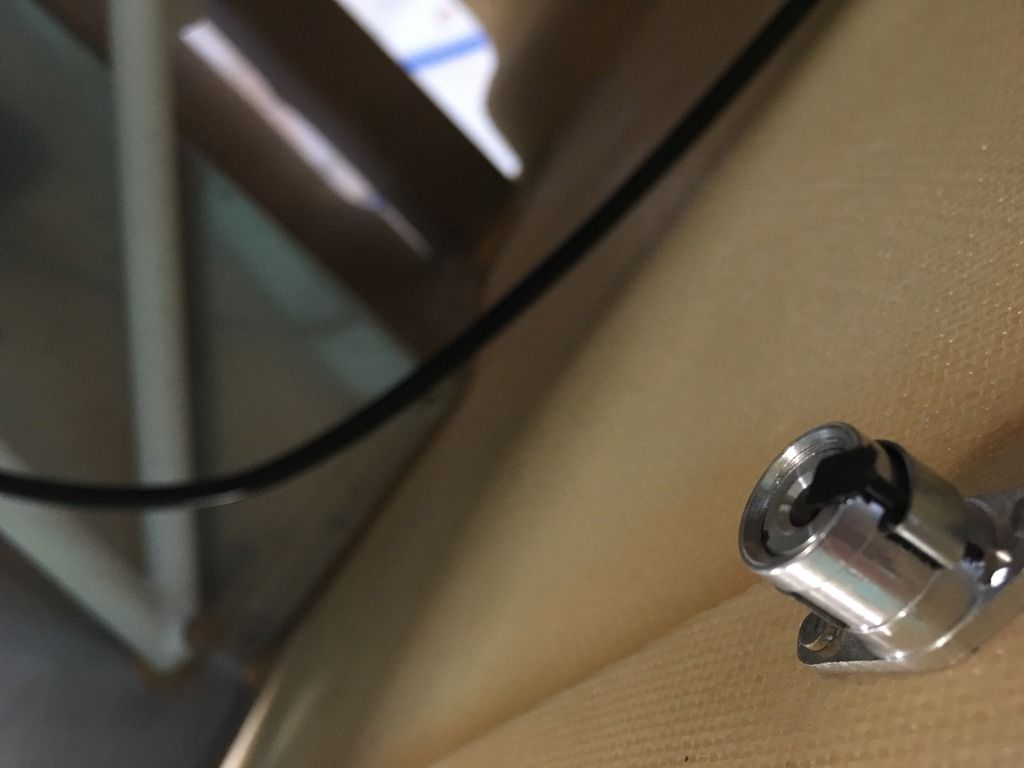
Before I start drilling holes, any tips that any one has to keep it exactly where I want it as I install the cam locks?
Finished off the cowl today. The lower piece sank a bit which I'm not super happy with but I think I still looks pretty good. If I were to take what I know now, I think it would have turned out better.
The one cowl inlet had a bit of an edge so I put some superfil on it.
You can see how much the cowl sank after I took the tape off.
Didn't sink too too low. You can see the prop flange from the cockpit which wil bug me forever. Maybe the engine mount will sink a bit?
Still need to add the NACA scoop and the hole for the exhaust.
The other side lined up perfectly but I couldnt get this side to cooperate so I opted to superfil it.
Adding superfil to fair the over laps.
Since you only have pilot holes for cleco's, you should still be able to move and adjust the cowling to fit where you want it. Remove most of the cleco's and place where needed, redrill an existing hole for a larger size cleco and proceed from there.
Dick B
Great idea Dick! I did just that and it worked well. Not 100% but I got it looking much better. Thanks.
Also, yesterday I sanded the superfil. Turned out well I think.
It's looking good Josh. Bet you will be happy when this job is over!
I then found painting to to be a bit of a challenge given all the curves - got a few runs at first attempt! I will finish it one day -just got to the point that I wanted to fly!
Is that an Airmaster hub josh? What blades did you get?
cheers
ross
Ross
Mt Beauty, Vic
OZ
Sold to Richard and Scott Taubman in OZ, 2019. Kitfox SS7,Rotax 912is Sport, Airmaster CSP 75" blades.
Landcruiser and Cub off road camper (doesn't get any kudos on this forum!)
Hey Ross, it is indeed an Airmaster prop hub. I have the Warp blades which when this prop was manufactured were the only blades available. This prop was in an accident where it hit the ground and shed its blades after 75 hours TT. The hub was sent back to Airmaster, inspected, rebuilt, and updated it. Then they sent it back with brand new Warp blades again. So my blades have zero hours on them. Much smaller than the Whirlwinds but they sure seem like pieces of art.
Question: Are these black pieces supposed to stay in the camlocks? They seem like they will vibrate out very easily.
 Posting Permissions

 Reply With Quote


